
How to Edit a Vlog
Edit a vlog by finding the story in a transcript of your own footage first, cutting the rambling and dead air on the page, arranging what is left into a hook-middle-payoff shape, then finishing the visual pass, jump cuts, B-roll, music, in your NLE. Scrubbing raw footage for the story wastes hours that reading a transcript does not.
The Real Problem
Unscripted Footage Has No Built-In Structure
A scripted commercial has structure before a camera rolls. A vlog does not, you filmed two hours of a day happening, and somewhere in it is maybe eight minutes of usable story. Scripted editors solved this problem decades ago with the paper edit, transcribing footage and building the story on the page before touching a timeline. Vlog editing is the same problem in a faster, more casual package, and it benefits from the same fix. Working from the page instead of the timeline is often called text-based editing, and it is the fastest way to find a story buried in hours of unscripted footage.
On the Shoot
Editing Starts Before the Camera Turns Off
A vlog is easier to edit when the footage gives the edit something to work with. Recording a few seconds of silence and static framing before and after a line lets an editor place a cut cleanly without chopping off a word. Grabbing extra ambient shots of hands, surroundings, and reactions while narrating gives the eventual edit B-roll to cover a jump cut instead of forcing every transition to be a hard cut on the speaker's face. None of this requires more filming time, mostly it requires a habit of pausing half a beat before starting and stopping a thought.
Casey Neistat's Rule
Story Comes Before Any Editing Technique
Casey Neistat, whose jump-cut, music-driven style became the default template for YouTube vlogging between roughly 2015 and today according to coverage in Fstoppers' breakdown of his editing style, has been direct about what actually drives his cuts: "Story is everything." Every technical choice, jump cut placement, music timing, camera angle, exists to serve whatever story is in the footage. That only works if you know what the story is before you start cutting, which is exactly what a transcript pass gives you.
The Workflow
Five Steps From Raw Footage to a Cut Vlog
- Transcribe the main camera audio with word-level timing so every line maps back to an exact frame.
- Read the transcript like an article and highlight the lines that actually move the story forward, ignore everything else on this pass.
- Arrange the highlighted lines into a shape: a hook in the first few seconds, a middle that builds, a payoff at the end.
- Remove filler words, false starts, and dead air from what remains.
- Export the arranged sequence into Premiere, DaVinci Resolve, or Final Cut for B-roll, music, and sound design.
The transcript pass typically takes fifteen to thirty minutes for an hour of footage, far less than scrubbing the same footage on a timeline looking for the same moments.
Structure Templates
Hook-Middle-Payoff Is a Starting Point, Not the Only Shape
Hook-middle-payoff works for most vlogs, but a few other shapes come up often enough to be worth naming. A day-in-the-life vlog can lean into loose chronological order precisely because the appeal is the rhythm of a real day, in which case the edit job is trimming the boring middle stretches rather than reordering anything. A problem-solution vlog, something went wrong and here is how it got fixed, works best when the problem is established fast and the resolution is held back as the payoff, even if it happened first chronologically in the footage. A listicle-style vlog, five things about a place or a topic, needs the strongest point moved to either the very front or the very end, never buried in the middle where it gets the least attention.
Multi-Camera Footage
Selfie Angle, B-Roll Camera, and When to Cut Between Them
Most vlogs draw from at least two sources, a talking, selfie-style angle and a separate B-roll camera or phone shooting the surroundings. Transcribing only the audio from the talking angle keeps the story-finding pass focused, since the B-roll rarely carries dialogue that matters to the structure. Once the talking sections are locked from the transcript, the B-roll gets laid on top during the NLE pass, timed to specific phrases rather than dropped in arbitrarily. A line about a place should be covered by B-roll of that place, not a generic shot that happened to be available. Treat B-roll as coverage for a specific line, not decoration dropped in wherever there is a gap.
Pacing
Jump Cuts and B-Roll Keep the Energy From Dipping
Two techniques do most of the pacing work in a vlog. Jump cuts remove the pauses and breaths between sentences so a talking-head section stays tight, the visible discontinuity is a stylistic tradeoff creators like Neistat made deliberately rather than an editing mistake to avoid. B-roll laid over dialogue gives the eye something new to look at and quietly covers the audio edit underneath it, doing double duty as both visual interest and a jump-cut mask. A jump cut works because the story already earned it, not because a filler word needed to disappear.
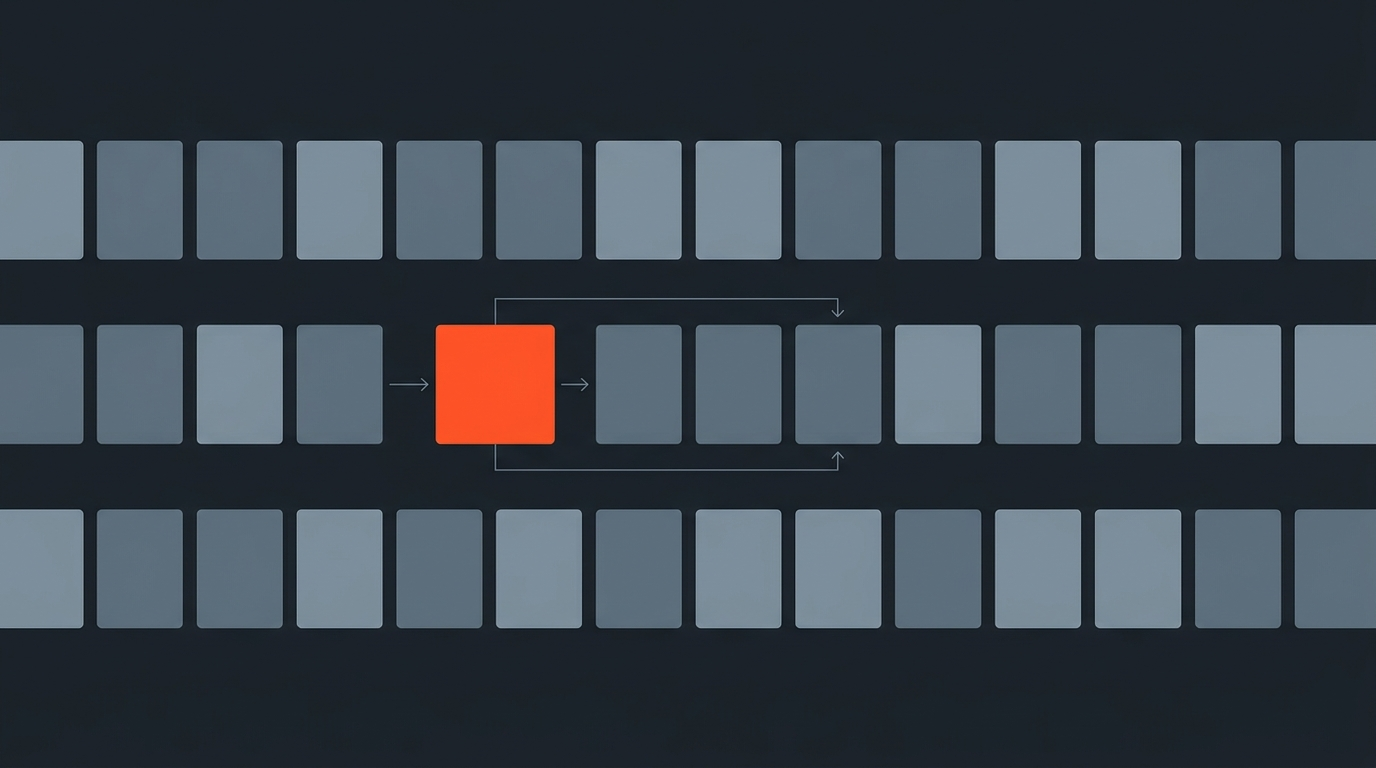
Here is what that pacing looks like applied to a real talking-head sequence, jump cuts tightening the pauses while B-roll covers the seams:
Sound Design
Music Is Not the Only Audio Decision
Music gets most of the attention in vlog editing discussions, but ambient sound and mix levels do real work too. A consistent, low ambient bed under a talking section smooths over the audio jumps that come with heavy filler removal, since a hard cut in silence is far more noticeable than the same cut under a light room tone or music bed. Dropping the music volume noticeably under dialogue and bringing it back up in gaps between lines is a small habit that makes a cut feel intentional instead of choppy.
Music and Rights
Pick Tracks Before the Cut Is Finished, Not After
Music choice affects pacing decisions, so it works better slotted in earlier than most editors default to. A needle-drop-style edit, cuts landing on musical beats, needs the track in the timeline before final trimming, not added afterward as decoration. Licensing matters just as much as timing, using a copyrighted track without clearance risks a claim or a muted upload on YouTube, so most working vloggers pull from a royalty-free library like Epidemic Sound or Artlist rather than commercial radio tracks, and confirm a track's license actually covers the platform it is going on before publishing.
Worked Example
A 90-Minute Travel Day Cut to Eight Minutes
Start with 90 minutes of footage from a travel day, shot across a selfie camera and a secondary B-roll camera. Transcribe the main camera audio, then read it looking for a single through-line, in this case a problem-and-resolution arc: a missed connection, a scramble to fix it, and the payoff of making it to the next stop. Mark roughly eight minutes of talking that carries that arc, strip the rest. Remove filler words from what is kept, then move into the NLE to lay travel B-roll over the talking sections, timed to the specific lines that reference each location, and add jump cuts to tighten anything that still drags.
Editing for a Series
Consistency Matters More Than Any Single Episode
A one-off vlog and a weekly vlog series get edited with different priorities. On a series, a recurring pacing, a consistent intro length, a similar ratio of talking to B-roll, trains an audience for what to expect and makes each new upload feel like part of the same show rather than a one-off experiment. Working from a transcript helps here too, since it is much faster to compare the shape of this week's story against last week's when both exist as text first, rather than needing to scrub through two full cuts side by side to check the pacing matches. If the series also feeds Reels or TikTok, cut the vertical versions from the same transcript instead of re-editing from scratch, the story beats stay the same and only the vertical video framing and cut spacing need to change.
Common Mistakes
Where Vlog Edits Lose Momentum
- Keeping too much footage. More raw material in the cut is not more story, it is more places for viewers to click away.
- Editing without knowing the story first. Cutting on instinct, timeline-first, works occasionally and produces inconsistent results across a season of uploads.
- A slow opening. The first few seconds decide whether anyone stays; save the strongest hook for the top, not chronological order.
- Leaving filler language in. Every um and unfinished sentence that survives the cut is a small tax on watch time.
- B-roll with no connection to the dialogue. Generic filler footage laid in at random reads as padding, not coverage.
- Forcing every vlog into the same template. A day-in-the-life and a problem-solution vlog need different pacing decisions, not one formula applied blindly.
Tradeoffs
Timeline-First Is Faster to Start, Slower to Finish
Cutting straight on the timeline from instinct feels faster because you skip a step. In practice it is inconsistent, some days you find the story fast, other days you scrub the same twenty minutes of footage three times looking for a line you remember saying. Transcript-first adds one step, transcription, and removes the scrubbing entirely, which is a net win on anything over ten minutes of raw footage.
The Takeaway
The Story Comes First, the Timeline Comes Second
The fastest vlog editing workflow treats the transcript as the first draft of the edit. Find the story on the page, strip what does not serve it, then bring the finished shape into your NLE for the visual pass. ScriptCut handles the transcript stage, transcribing footage, highlighting and arranging the story, cutting fillers, and exporting a timeline to DaVinci Resolve, Premiere, or Final Cut Pro so the finishing pass starts from a structure instead of a blank sequence.
Sources
frequently asked questions
Long enough to fit the story and no longer. Most usable vlogs run five to fifteen minutes even when the raw footage runs well over an hour, because the goal is the strongest version of the day, not every minute of it.
Transcribe the footage and read it like an article instead of scrubbing the timeline. Reading text is faster than scanning video, and it is much easier to spot a story shape on the page.
No. Remove obvious filler like um and uh, but keep some natural speech patterns intact or the cut can start to feel over-processed and lose the vlog's casual tone.
Not necessarily. The strongest moment often belongs at the very start as a hook, even if it happened in the middle of the day, then the rest can fill in around it.
Premiere Pro, DaVinci Resolve, and Final Cut Pro all handle vlog editing well. The bigger factor in speed is finding the story before you open any of them.
A jump cut joins two shots with the same or similar framing, creating a visible, intentional discontinuity used to remove pauses. A regular cut typically changes the angle or shot size to hide the edit instead of drawing attention to it.
Leaving a beat of silence before and after a line, and grabbing a few extra seconds of ambient B-roll while narrating, gives an editor clean points to cut and material to cover jump cuts with later.
You might also like...


Start selecting.

Pick the story in the transcript, export a finished rough cut.